
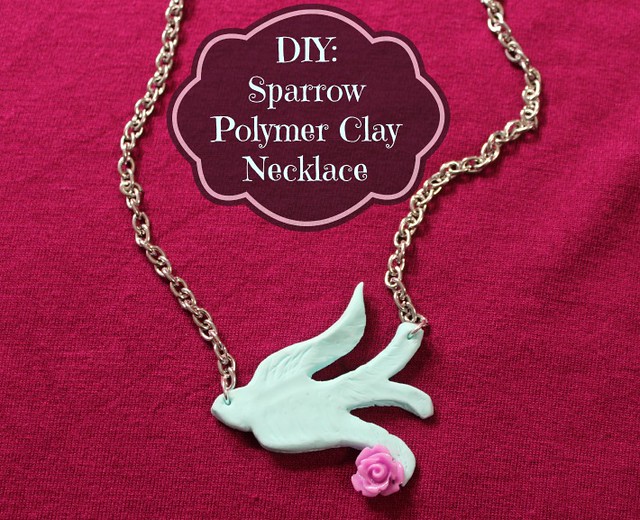
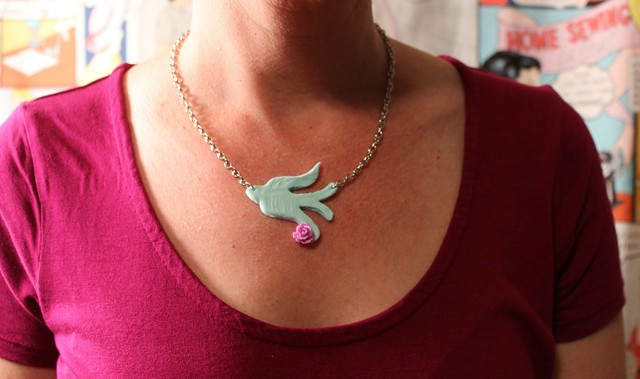
DIY: Sparrow Polymer Clay Necklace
Friday, September 26, 2014
Making jewelry is something I've always been interested in.
I dabble in it a little and even opened up my own Etsy shop selling my makes (I've been really lazy about that btw). I was asked by the folks at Kollabora if I'd like to participate in their latest collab with Joann Fabric by making one of their projects (disclaimer: yes, this is a sponsored post). I'm a frequent flyer at Joann and I have a strange obsession with collecting their project flyers but not ever actually making any of them. I was eager to actually try my hand at it this time when I seen their jewelry projects. I've been wanting to learn some new techniques and how did I not know about polymer clay!? (thanks, rock..not!). Well let me correct myself, I'm not totally oblivious. I have heard of polymer clay I was just not aware of the fact that it's super easy to work with and incorporate into jewelry. If you'd like to find out how easy it is please follow along below where I show you how I create my sparrow necklace. To see the original project tutorial visit here and to see Joann's other featured projects visit here.
SUPPLIES:
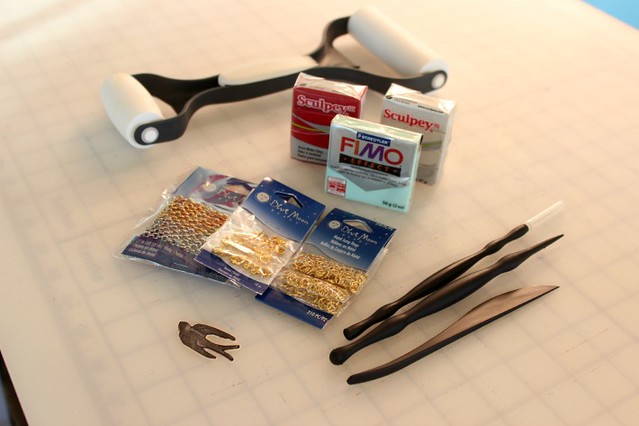
Polymer Clay - I picked a couple brands to play with. I think I prefer Fimo over the other although Sculpey had more of a color selection at my store. It seemed easier to work with and didn't get as sticky in your hands after molding it.
Sculpting Tools - These aren't necessary, a razor/toothpicks will suffice however I did find this set invaluable.
Roller - I used my mini roller from Pampered Chef otherwise it would never get used because I don't cook!
Jewelry Making Notions - chain, clasp & jump rings
Mini jewelry pliers - not pictured, from my stash
Sparrow template - found online
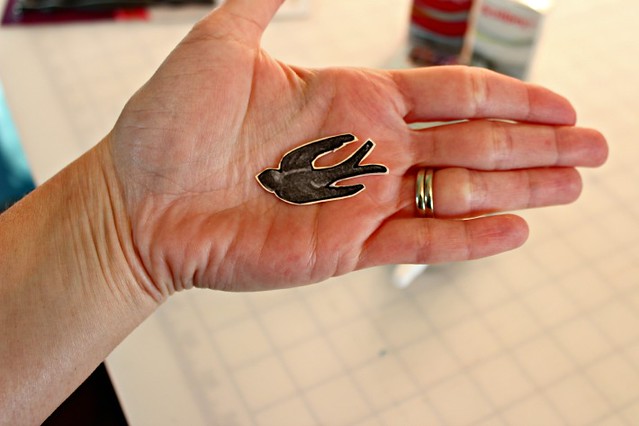
STEP ONE:
I found a drawing of a sparrow I liked on the internet to use as my template.
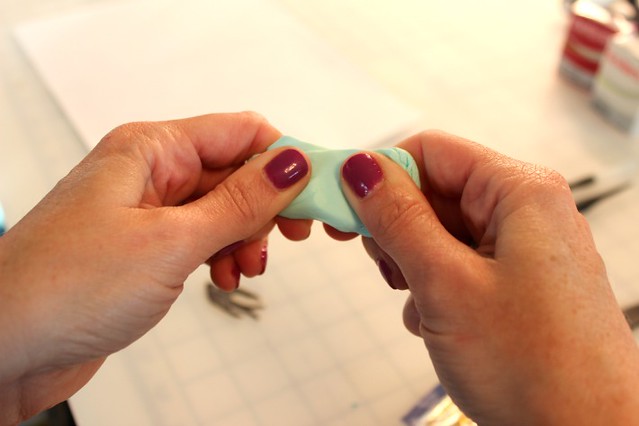
STEP TWO:
Next I took the mint green Fimo clay and warmed it up with my fingers.
STEP THREE:
I took my roller and rolled the clay out in an even layer.

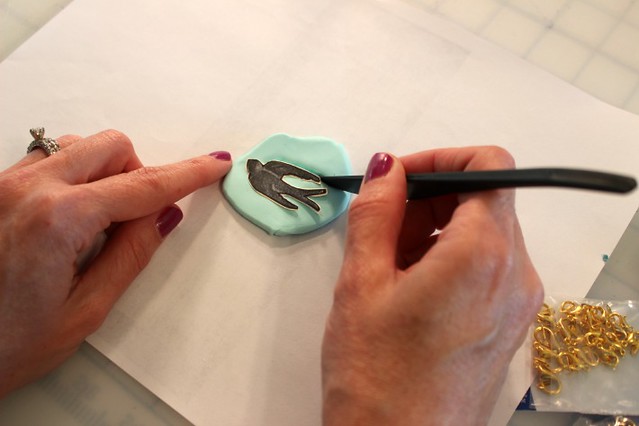
STEP FOUR:
Using my knife out of the sculpting kit and my template I cut my sparrow out of the clay. I then used the scoring tool from the kit and created some texture to the wings to give it that feather look. I also clean up around the edges.
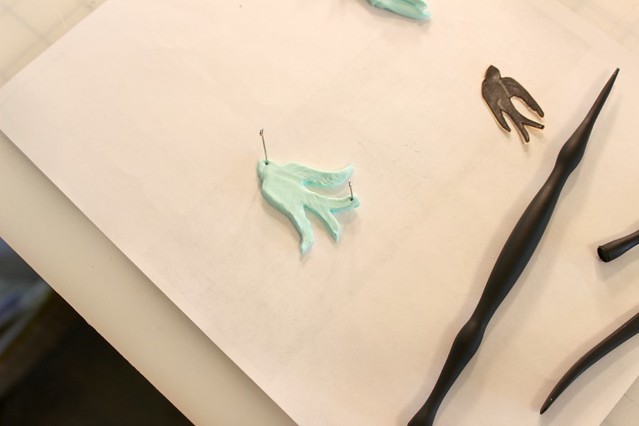
STEP FIVE:
Using eye pins from my stash (toothpicks will work here just as well) I poked holes into the clay where my jump rings would be inserted to attach to the chain.
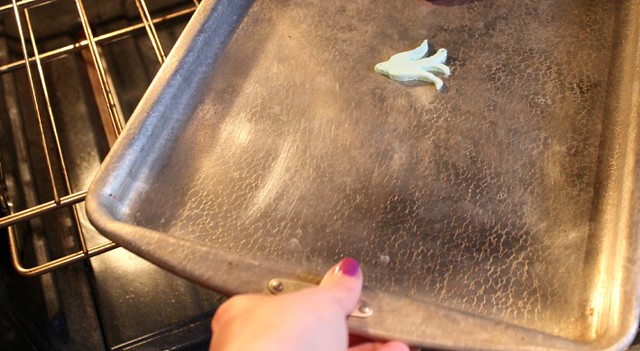
STEP SIX:
Bake clay according to package directions. I baked mine at 230 degrees for 30 minutes.
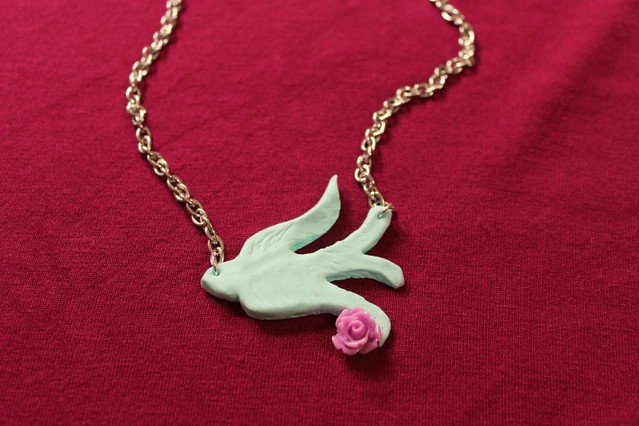
STEP SEVEN:
Attach your jump rings, chain and clasp using your jewelry pliers and bam you got yourself a pretty sweet necklace. I had a tiny little purple rose in my jewelry making stash so I attached it to the wing using E6000 glue. Oh also, my edges were a little rough so I lightly sanded them with fine grit sandpaper.
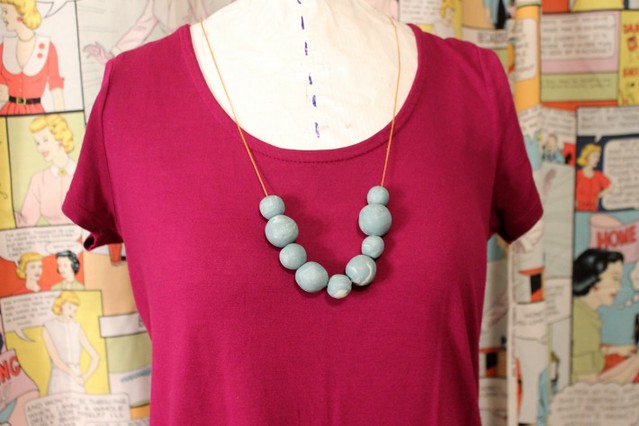
I also made some marbled beads. I molded two colors together to get the marbled effect, rolled into a ball with the palm of my hands and poked a hole all the way through the bead with a toothpick. I strung them together with some denim top stitching thread that I'm unable to use because my machine hates it and literally spits it out at me. I plan on sanding and polishing these so they become nice and shiny.
Check out Nora's feather clay necklace. So cool! I bought some red clay to try and copy.
Have any of you ever made your own jewelry? I find it a nice break in between sewing projects. Also no fitting necessary! :)


4 comments
So cool! Aside from beading and friendship bracelets, I've never really made jewelry - but I may have to start after seeing this. So many crafts, so little time....
ReplyDeleteOh I remember the days of making friendship bracelets in school. I would wear as many as I could on my arm.
ReplyDeleteI was surprised at how quick and easy it was to make. Just one evening! I even cranked out the blog post. That is a feat for me!
ReplyDeleteI was surprised at how quick and easy it was to make. Just one evening! I even cranked out the blog post. That is a feat for me!
ReplyDelete